No matter how careful you are in placing your concrete patio, it will degrade over time and end up with cracks. So, you wonder about finding a solution.
These cracks are unsightly and lead to other consequences, such as creating conditions for growing weeds, trapping dust, and debris.
You may wonder: ‘Why is my patio cracking?’ The good news is that you can solve this problem. In addition, several signs allow you to predict future cracks.
Scroll down to get interesting information!
Table of Contents
Why Is My Patio Cracking?
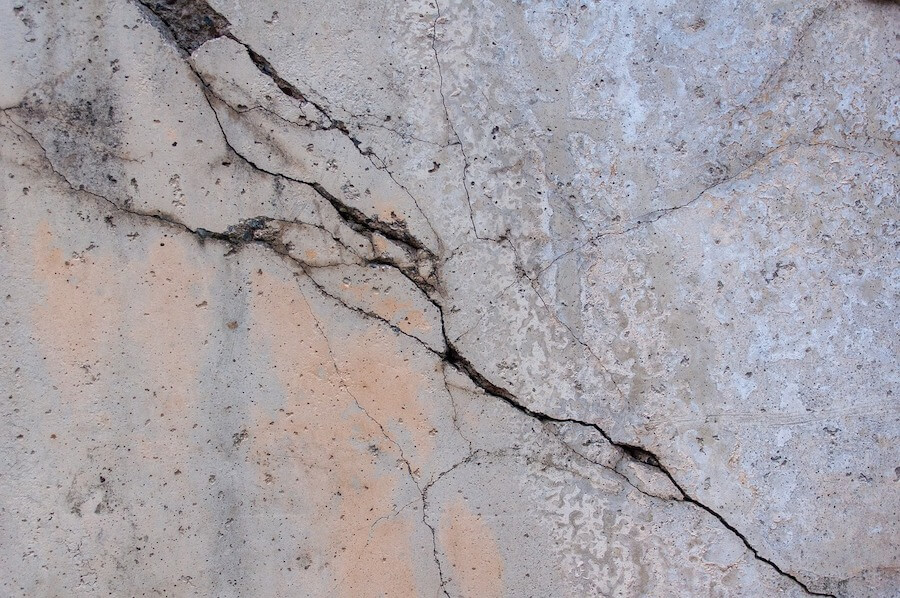
The leading cause of a cracked patio is the sinking or settling of the ground. It is typically exacerbated as your ground dries out in the warmth.
Settling will often happen unevenly, leading to the surface becoming unstable.
Then, cracking might occur under the weight of the concrete or under any heavy load that is placed on it, such as a person or vehicles passing across it.
If you leave this situation for a long time, it will only worsen. Besides making your apartment’s aesthetic look terrible, it traps debris, making cleaning your patio difficult.
When the cracks become large enough, they can be a hazard. For example, it can cause your child to stumble, resulting in injuries, so troubleshooting as soon as possible is necessary.
A Step-By-Step Guide On Repairing Your Concrete Patio
- Skill Level: Beginner
- Working Time: 45 Mins
- Total Time: 1 Day, 45 Mins
- Estimated Cost: From $10 to $30
Step 1: Gather Anything You Need
Here are all the equipment, tools, and materials you need to complete the job.
Materials
- Sand
- Scrap piece of cardboard
- Polymer-based concrete crack filler
- Solid crack filler: Clean sand & funnel or closed-cell backer rod
Tools And Equipment
- Funnel
- Hammer
- Putty knife
- Utility knife
- Caulking gun
- Wire brush
- Safety glasses
- Shop vacuum
- Hearing protection
- Heavy-duty flat mason’s chisel
Step 2: Widen Your Patio’s Crack
First, you wear protective gear, including hearing protection and safety glasses.
Next, widen the crack to make a V-shape. So, patch materials will stick better.
Put the edge of your masonry chisel into your crack and ensure it is at a 45° angle to the ground.
Use a hammer to tap the back of your chisel until it gets into the crack about 0,25 inch.
You need to be careful during this process to avoid chipping out larger sections of concrete.
Step 3: Clean the Crack
Now is the time to clean out this crack with the wire brush.
All you need to do is vigorously brush in the direction of this crack to remove all of the small particles from the crack.
Once your wire brush has removed everything it can, you will need to remove smaller dust and debris with a shop vacuum.
Step 4: Apply the Solid Crack Filler
You will need to check the depth level of this crack.
But in case the crack is more than 0.25 inches deep, filling in as much as possible is essential to bring it to a depth of 0.25 inches.
We recommend avoiding using liquid crack filler for deeper cracks as it can extend curing time, leading to sinking filler, which increases the overall repair cost of this project.
The simplest and most effective way to apply solid filler is to dispense sand by hand through one funnel.
The biggest advantage of this method is that it is cheap and enables you to alter the crack filler’s height when you go.
On the other hand, you can also consider the other way: Put one closed-cell backer rod into this crack.
With your fingers, press this backer rod into the crack as much as possible. Once you reach the higher area that doesn’t require filler, just cut off your backer rod.
If you reach areas that make it difficult for you to press your fingers, you can use other tools rather than your fingers.
The advice here is to use any blunt tool, such as your hammer or paint stirring stick. Stay away from sharper tools, such as screwdrivers, as they can puncture your backer rod.
Ensure your backer rod is robust and in place before jumping to the next step.
Step 5: Put the Concrete Crack Filler on the Crack
You should follow the manufacturer’s instructions when applying the concrete crack filler.
In our experience, you should squirt a little filler onto one piece of paper till the filler is thicker.
Then apply filler along the crack and make sure it fully settles into your crack. Then, move on to the next step.
Step 6: Leveling the Filler
Now is the time to flatten the fillers and ensure they are level with your patio.
Regarding the high area, you must draw the putty knife along the crack direction to ensure the filler is flattened.
On the flip side, you may need to apply more filler for low-lying areas and flatten the filler using your putty knife.
Step 7: Give the Patch Material Time to Cure
Leave the patch material there for at least one day to cure before painting, surfacing, or walking over it.
Get Expert Help

You can take the steps above on your own to fix your concrete patio cracks.
However, it is only effective for cracks smaller than 0,5 inch. For larger cracks or tilted or missing concrete, it is wise to call your specialist immediately.
Some Common Signs You Need to Repair Patio
Here’re some signs that it’s time to consider repairing the concrete patio.
Whenever you see the following signs, take action as soon as possible before things get worse.
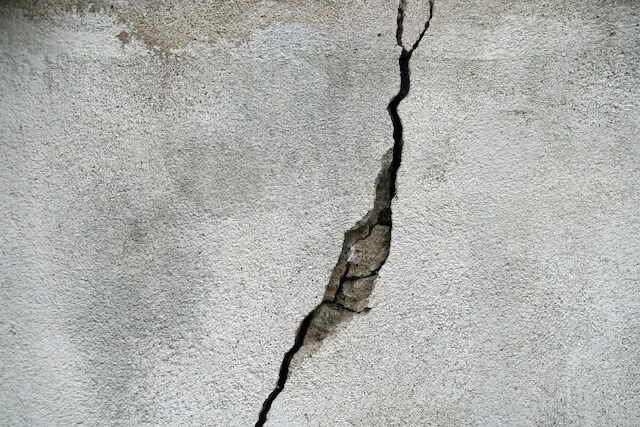
Cracks In Your Patio
If you detect any cracks on your patio, you should repair them soon.
Minor cracks may seem not a severe problem. However, if you ignore it, it will get worse over time.
You need to consider the width and depth of the cracks for the optimal solution.
Patching or adding crack filler only works with the crack that is no more than 1/2 inch wide, also called hairline cracks.
For larger cracks, you should call a professional to take care of the problem.
Aged And Weathered-Looking Patio
Your patio will start to look worn out and old over time, even if it’s well-built. Fortunately, replacing your entire patio is not necessary in this case.
As long as you take care of repairs and maintenance of your patio timely, you just need to do simple restoration work to make it look new again.
In most cases, you just need to resurface, waterproof, and seal-coat your concrete patio to make it look good as new.
Spalling/Surface Deterioration
Spalling refers to pieces of the concrete patio chipping away and falling off.
To protect the concrete patio from damage in the future, you must address it as soon as you can. If not, the damage worsens, leading to increased repair costs.
Spalling can be the result of faulty construction. During construction, people added much water into the concrete mix, and the concrete didn’t cure properly after installation.
In this case, ripping down and rebuilding your entire patio is not necessary. Instead, you can resurface the patio with a 1/2-inch concrete overlay, which might fix the issue.
Water Is Pooling On The Patio
If water collects on your patio in large puddles, it could be a sign that the patio has drainage problems.
If water cannot correctly drain off and go away, it ultimately damages your patio.
FAQs
How Long Can Concrete Patio Last?
If properly maintained, a concrete patio can last upward of 30 years.
How Often Should I Wash Patio Maintenance?
For deep cleaning, you should do it three to four times a year.
Also, you should regularly sweep any debris or dirt off your patio to keep your patio looking new and clean every time you step outside.
Is Concrete Patio Good?
The concrete patio is the preferred choice of many apartment owners for many good reasons, such as:
- Versatile
- Affordable
- Easy to Maintain
- Durable and Long-Lasting
Can I Use a Vinegar Mixture to Clean a Concrete Patio?
Yes. For slightly stubborn marks, such as pet stains, rust spots, and charcoal, you can combine equal parts of water and white vinegar as a diluted mixture.
The rust or other materials react with a vinegar mixture and ultimately dissolve.
The Bottom Line
Through this article, we have shared with you a guide to dealing with patio cracks. It’s not hard to do, and you can get the job done even if you are a novice.
For more severe cracks, we recommend getting help from trusted professionals with the experience and tools to handle any case.