Although building a treehouse is difficult, especially for the inexperienced, it is very interesting and worth a try. It will give you fun moments and memories.
Today, we will help you complete this project by answering some essential questions, from ‘How big is a treehouse?’ to “How to build a treehouse?”
Keep reading and I’ll show you in detail!
Table of Contents
How Big Is A Treehouse?
There is no fixed size for a treehouse because your treehouse can be any size, as long as it fits your tree. In fact, some tree houses will be about 6′ x 8′.
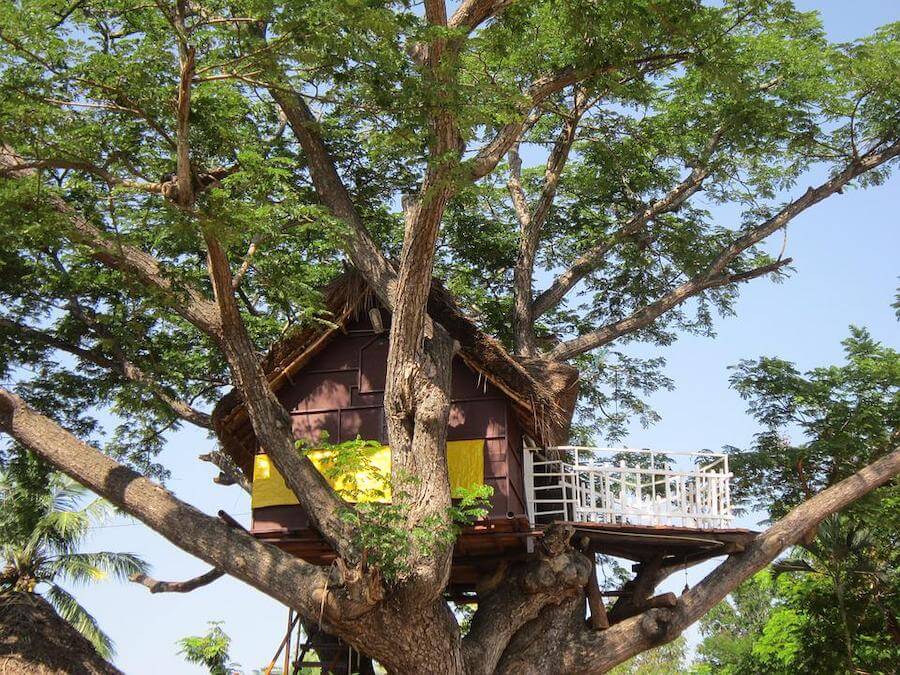
Choosing the tree for this project is very important. Many trees are better than one for larger and more critical construction, but this is not always possible.
For single trees, we recommend considering ones with a good trunk that splits into decent-sized branches. That way, you will get some great anchors and support points for the base of your treehouse.
You should look for healthy coniferous or deciduous, such as oaks, ash, maples, and some beech, hemlock, and apple that can also work great for this project.
They are strong trees that typically grow large and work well in various climates, which is essential when building a treehouse.
For average-sized treehouses of 2.5m by 2.5 m (or 8 feet x 8 feet), trunk diameters of 30.5 cm (12 inches) or more will be best if utilizing a single tree.
If your treehouse gets supported by two trees or more, you should be fine with smaller minimum diameters.
Your treehouse’s design can also make it heavier than it seems. In this case, you will need to opt for a larger diameter or one tougher tree.
Deciduous trees feature denser wood that can support more significant loads.
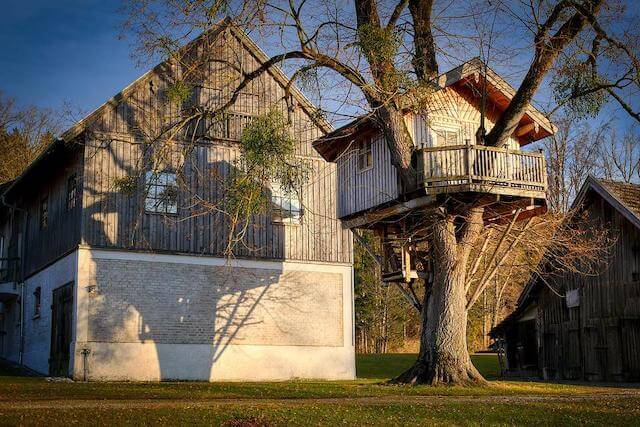
Remember that the higher your treehouse, the greater the risk to your kids. So we recommend something between 2.5 and 3 meters tall.
How To Build A Treehouse?
Step 1: Collect the Necessary Materials
No matter what you build, it is essential to gather the necessary materials. You will need to get some, or even all, of the following materials:
- Lumber or timber
- Decking material
- Washers and screws
- Galvanized rafter ties
- Galvanized joist hangers
- Deck screws, nails, etc
- A pulley for your kids to utilize when finished
Step 2. Gather the Proper Tools to Get the Job Done
Once you have the necessary materials, it’s time to think about preparing some basic tools.
Hand Tools (Must Have)
- Level
- Saw
- Square
- Ladder
- Hammer
- Tape measure
- Adjustable wrench
- Power tools: Jigsaw and cordless drill
Power Tools (Crucial but Not Useful)
- Router (to round edges)
- Table saw (to rip lumber)
- Miter saw (to cut lumber to length)
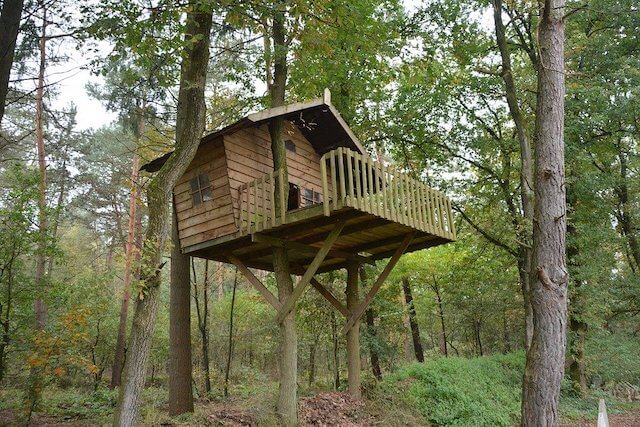
Step 3: Mounting the Supports & Building the Main Platform
This step is the most important of the entire project. Your treehouse won’t last long without well-built supports. So you should spend sufficient effort and time to do this part correctly.
Your treehouse will not last very long if you have a weak and poorly built main supporting structure.
Also, it will waste much of your effort and time, not to mention it won’t be safe for your kids to use.
Once the supports are in place, it is okay to start to assemble the main platform.
Building it directly onto the supports or prebuilding and mounting it in sections are okay, and it is up to you.
Step 4: Add Braces if You Need
If you want to increase your strength, putting some braces below the platform is a great idea.
Adding braces from beneath the platform to the trunk will prevent your treehouse diagonal from wobbling or collapsing due to its weight.
The placement and amount needed should depend on your chosen treehouse design and tree.
Step 5: Place the Flooring Down
Once the main supporting structure, braces, and platform are in place, it is time to get your main flooring down to make a platform.
You will likely want to trim the decking’s lengths to fit and might have to trim around your tree trunks, depending on the selected design.
Once you have completed this step, your tree house will look like it is really beginning to come together.
Step 6: Construct the Walls, Rails, and Entrance
At this step, your tree house has come along agreeably. Now is the time to add some walls and rails. You can utilize old fencing or build timber frame structures.
It does not matter how you do it, but the primary concern is making your tree house safe to utilize. You don’t want your kids falling off the treehouse, do you?
In addition, keep your eyes on how kids enter and exit the structure. Ensure to put the entrance in a proper place.
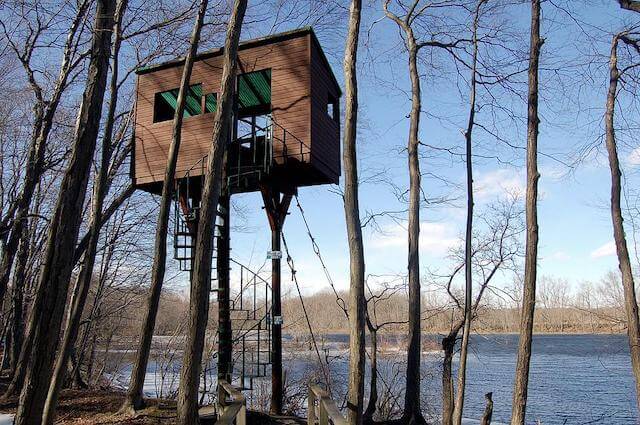
Step 7: Add One ladder
Once your main platform and walls/railing have been in place, it is time to add a ladder to your treehouse.
Although one basic ladder is typically the best option, you can think about adding a retractable rope ladder.
But remember that your younger kids might struggle with one rope ladder. Also, you could install the pulley at this point (if needed).
Step 8: Put a roof on it before enjoying
At this point, all main elements should be in place, and the final step is to place a roof on your treehouse’s top.
You can build a more robust structure from wood or other materials. Also, it is okay to set up a tarp, or any weatherproof fabric is okay. It is entirely up to you.
With a proper roof put in place, you and your kids are now free to enjoy the homemade, brand-new treehouse!
How to Minimize Tree Damage?
- Consider utilizing one support ground or two to take the stress off your tree.
- Do not put fasteners close together, as it can weaken that part of your tree. Instead, use at least 3/4 inch bolts and put at least 12 inches apart horizontally and 18 inches apart vertically.
- Avoid slinging ropes and cables over branches. The reason is that they will cut through the tree’s bark when the structure moves.
Impassive Treehouse Accessories You Should Buy
You may want to purchase accessories for your treehouse. Then, with something interesting, you can turn your “box up in a tree” into an ultimate hang-out zone.
Here are several accessories that will work great with your treehouse:
- Trap door
- Water cannon
- Slide or fire pole
- Ball/potato launcher
- Fold-down benches and tables.
- Solar-powered light or lantern
FAQs
Where Should I Build My Treehouse?
When considering building a treehouse, look around to check out the trees on your property.
We recommend choosing a long-lived, healthy hardwood for maximum support.
In addition, it should have load-bearing branches at least eight inches in diameter (or larger if you opt for softwood).
Our recommended trees are maple, beech, oak, fir, and hemlock. You don’t have to choose a tree too high.
However, ensure it is high enough, so no one bumps their head when strolling beneath it.
Can a Treehouse Destroy My Tree?
The answer is yes! Tree houses can also damage your trees.
Foot traffic compresses the soil. It is not good for their roots. Also, extra weight in your tree’s branches can stress roots, and fasteners can lead to infection.
Although most trees can survive and continue to live while getting this abuse, you should think thoroughly before building a house in your treasured tree.
Should I Need One Building Permit?
It should depend on your treehouse’s nature and your local laws.
So if you’re thinking about building a treehouse that could be visible to the neighbors, you should discuss this with them to avoid any problems.
A municipality will become involved after your neighbor complains.
We also recommend staying away from boundary lines and avoiding building your treehouse where it can infringe on others’ privacy.
How to Minimize Injuries?
Your children might get hurt when playing in your treehouse. So avoid building a treehouse higher than eight feet and ensure to build safe, strong rails.
In addition, no one should be in the treehouse in lightning or high winds.
When Should I Call a Professional?
The more elaborate your chosen treehouse design, the more you should want to call a local landscaper or other professional.
And even if you’re a DIY pro, it is best to know who to call if you get into trouble with the details of building a treehouse.
Conclusion
Hopefully, by the end of this post, you’ve got all the knowledge you need to complete your treehouse project. If you have any queries, let us know in the comments section. We would love to hear from our readers.
Thank you for your interest in the article!