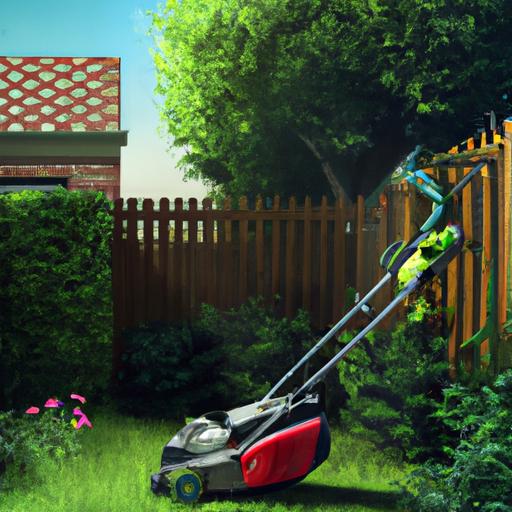
Hedges are a beautiful addition to your home and landscaping, but keeping them trimmed and neat can be a challenge.
With the right tools and a bit of know-how, you can take care of your hedge trimming needs on your own.
In this guide, we’ll show you the steps you need to take to repair a hedge trimmer cable, so you can keep your hedges neat and tidy all year round.
We’ll cover what a hedge trimmer cable is, what can cause damage to it, the tools you’ll need, and how to replace and test the cable.
Plus, we’ll provide some additional tips to help you out.
So, let’s get started!
Table of Contents
Short Answer
Yes, it is possible to repair a hedge trimmer cable.
Depending on the severity of the damage, you may need to replace the cable entirely or just repair the damaged section.
It is generally recommended to take the hedge trimmer to a qualified repair technician who can determine the best course of action.
If the damage is minor, they may be able to repair it on the spot.
What is a Hedge Trimmer Cable?
A hedge trimmer cable is a vital component of a hedge trimmer, as it is responsible for transmitting power from the trimmer to the cutting blades.
The cable consists of a metal wire surrounded by insulation and plastic, and it is typically rated for a certain voltage and amperage.
Over time, the cable can become frayed or damaged due to wear and tear from use, or from being exposed to extreme temperatures.
If the cable is damaged, it is important to replace it in order to ensure that the hedge trimmer is safe to use.
What Can Cause Damage to a Hedge Trimmer Cable?

The most common cause of damage to a hedge trimmer cable is wear and tear.
Over time, the cable can become frayed or the insulation can become worn down.
This can be caused by exposure to the elements, such as rain or sun, or from regular use.
In addition, if the cable is not properly maintained, it can become damaged.
This could be due to dirt or debris buildup, or a loose connection between the cable and the trimmer.
Finally, a hedge trimmer cable can be damaged by an accidental cut or tear.
This could be caused by a stray branch or other sharp object coming into contact with the cable.
Tools Needed to Repair a Hedge Trimmer Cable
When it comes to repairing a hedge trimmer cable, having the right tools can make the job much easier.
The most important tool you will need is a flathead screwdriver, which will be used to remove the cable from the trimmer.
Needle-nose pliers are also helpful for this process, as they will allow you to easily grip the cable and remove it without damaging it further.
Additionally, you will also need electrical tape and possibly a replacement cable if the existing one is too damaged to repair.
Make sure to unplug the trimmer before attempting any repairs.
With these tools in hand, you should be ready to tackle the task of repairing a hedge trimmer cable.
Preparing to Repair a Hedge Trimmer Cable

When it comes to repairing a hedge trimmer cable, preparation is key.
Before you begin, it is important to make sure that you have all the right tools and materials.
This includes a flathead screwdriver, needle-nose pliers, and electrical tape.
Additionally, it is important to unplug the trimmer before attempting any repairs.
This will help to prevent any accidental shocks.
Once you have all the necessary tools and materials, you can begin the repair process.
It is also important to inspect the cable before you begin the repair process.
Carefully examine the cable for any signs of fraying or damage.
If you find any damage, you should take care to make sure that it is addressed before you continue with the repair.
Finally, it is also important to make sure that you have a new or similar cable to replace the damaged one.
The new cable should have the same diameter, length, and terminal connections as the old one.
You should also make sure that the cable is rated for the same wattage and voltage as the original one.
With all the necessary tools and materials in place, you are now ready to begin the repair process.
Replacing the Hedge Trimmer Cable
Replacing a hedge trimmer cable is a relatively straightforward process, provided you have the right tools and materials.
First, youll need to unplug the trimmer before attempting any repairs.
Once unplugged, youll need to remove the cable from the trimmer.
To do this, youll need a flathead screwdriver and needle-nose pliers.
The flathead screwdriver is used to loosen the screws that secure the cable to the trimmer.
You may also need to use the needle-nose pliers to help remove the cable from the trimmer.
Once the cable is removed, inspect it for any signs of damage.
If the cable is frayed or otherwise damaged, it will need to be replaced.
When replacing the cable, use a new or similar cable that is compatible with your trimmer.
You may need to check the trimmers manual or contact the manufacturer to ensure the replacement cable is compatible.
Once the new cable is in place, secure it to the trimmer using the flathead screwdriver.
Finally, wrap the connection with electrical tape to ensure a secure connection.
By following these steps, you can successfully repair a hedge trimmer cable.
With the right materials and some patience, you can have your trimmer up and running in no time.
Testing the New Cable

Once you have acquired a new cable and removed the old one from the hedge trimmer, the next step is to test the new cable.
This is important to ensure that the new cable is functioning correctly and will last for a long time.
To test the cable, you’ll need to plug it into the hedge trimmer and turn it on.
Once the trimmer is running, slowly move it away from the hedge, making sure that the cable is not being stretched or pulled in any way.
Once you have moved the trimmer away from the hedge, turn it off and examine the cable.
Make sure that the cable is not frayed, damaged, or otherwise compromised in any way.
If it appears to be in good condition, you can go ahead and proceed with the repair.
Additional Tips for Repairing a Hedge Trimmer Cable
When attempting to repair a hedge trimmer cable, it is important to have the right tools on hand.
In addition to a flathead screwdriver, needle-nose pliers, and electrical tape, you may want to have a wire stripper, a pair of wire cutters, and a crimping tool.
Wire strippers allow you to remove the insulation around the wire without damaging it.
Wire cutters are used to cut the wire to the desired length.
Finally, a crimping tool is used to secure the wire at both ends.
It is also important to be aware of safety while repairing a hedge trimmer cable.
Make sure to unplug the trimmer before beginning the repair process and to wear protective gloves, eyewear, and long sleeves.
If you are working with electricity, use caution and be sure to double-check your work before powering the trimmer back up.
When replacing the cable, make sure to use the same type as the original cable.
If the original cable is not available, then look for a replacement cable that has the same gauge and insulation.
If the cable is too long, it can be cut to the desired length with a pair of wire cutters.
When installing the new cable, be sure to securely attach it to the trimmer, using electrical tape to ensure a tight fit.
Finally, be sure to test the repair job before putting the trimmer back into use.
Turn on the trimmer and check for any signs of fraying.
If you notice any issues, then it may be necessary to repeat the repair process until the cable is securely in place.
Final Thoughts
Repairing a hedge trimmer cable may seem daunting, but with the right tools and a bit of patience, it is a manageable task.
It can be a great way to save money and avoid having to buy a new trimmer.
Before attempting any repairs, make sure to unplug the trimmer and check for any damage.
If you feel comfortable doing so, it can be a rewarding experience to repair your hedge trimmer cable.
Why not give it a try?